To begin with, the decals start out with an idea. Some of those ideas have been swirling around for a long time. I still have ideas from when I was planning to buy StickyTiki that haven't come to fruition yet! So it is very exciting each time I do get to sit down and start work on a new idea.
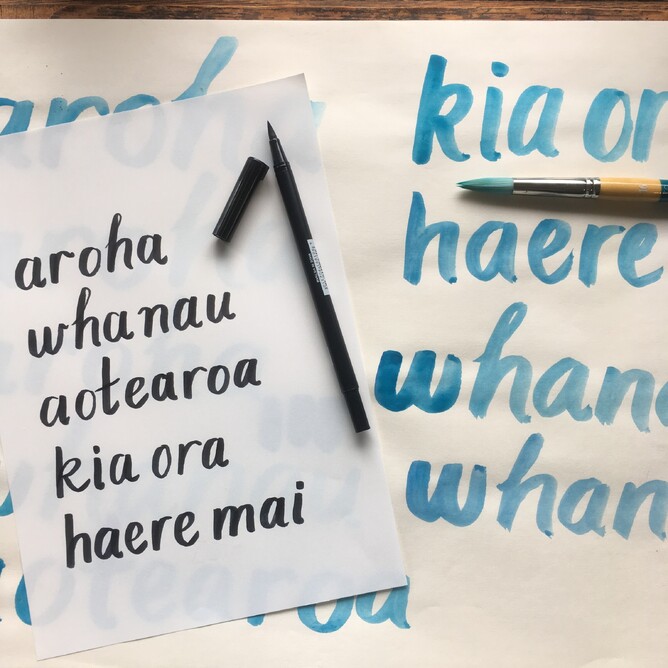
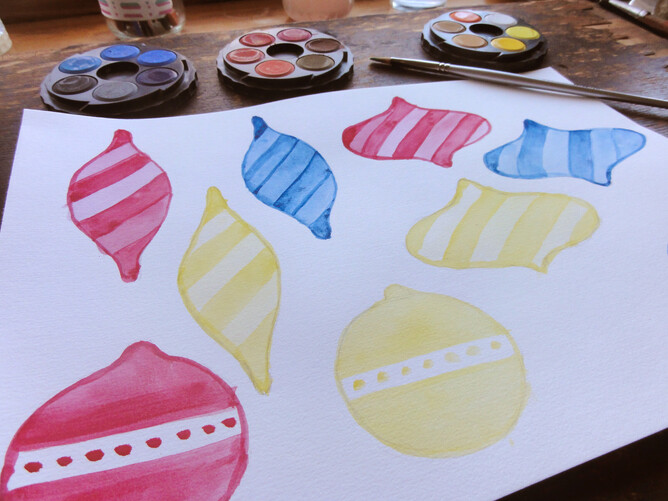
Firstly I sketch out some roughs to get a feel for how the work might look. Usually this will start with some pencil sketches from reference images, and then some rough paintings to try out different techniques until I get the desired effect. In this case I practiced the letter forms with my brush pen before using watercolour and a brush.

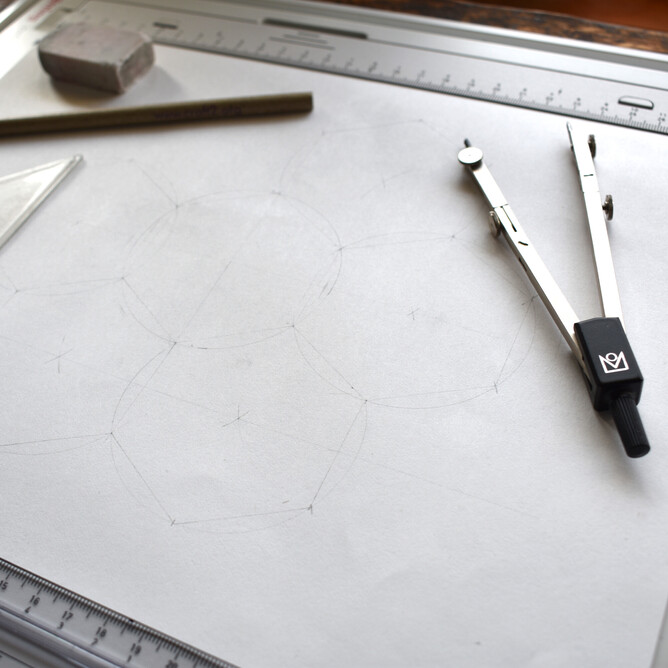
Once I'm happy with that, I sketch the outline. If it's something geometric, I literally go old school and use my compass and other tech drawing equipment I used at school. I'd like to add that computers were around then, they just weren't quite as sophisticated as they are now. The internet was still a novelty, not a way of life!
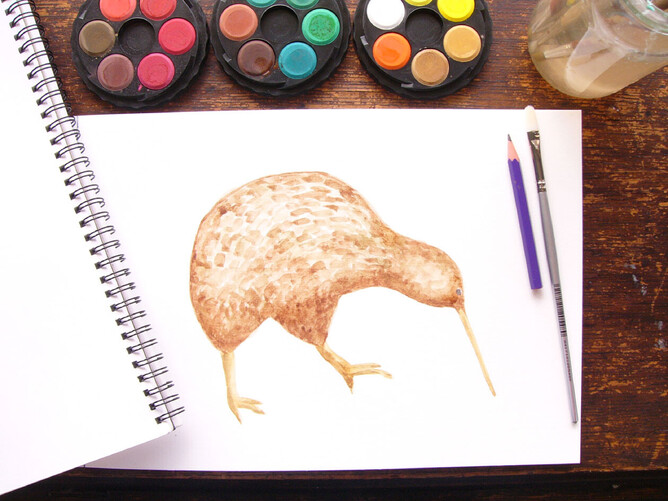
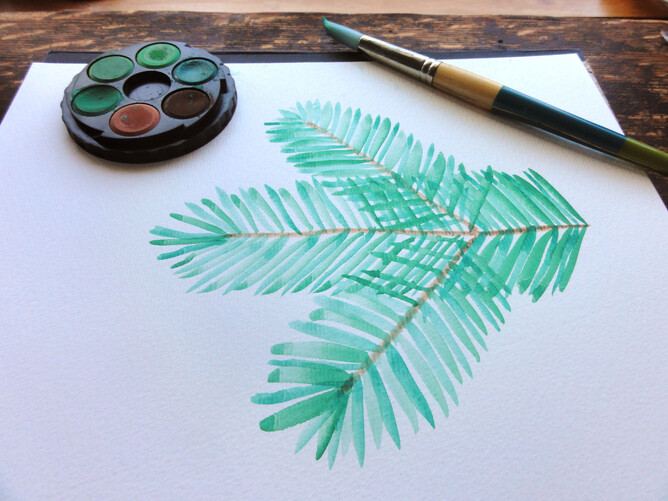
Then comes the fun bit where I get out the paint and create the finished painting. Often I'm happy with the first one, but sometimes I have to try again to get it to a stage that I'm happy with. If my high school art teacher is reading this, I have moved on from my perfectionist tendencies from fifth form. When I saw her at a recent school reunion, she wasn't convinced that was possible. It might be because she hadn't met my second art teacher, Maree from Art and Company who taught me to be more loose and go with the flow.

Once that is done, I scan the original artwork to my computer, make any necessary adjustments in photoshop (usually just to the brightness or colour balance), then I add the cutlines and arrange them on a sheet ready to be printed.

I hope you enjoyed this behind the scenes look at how I create the artwork for the decals.